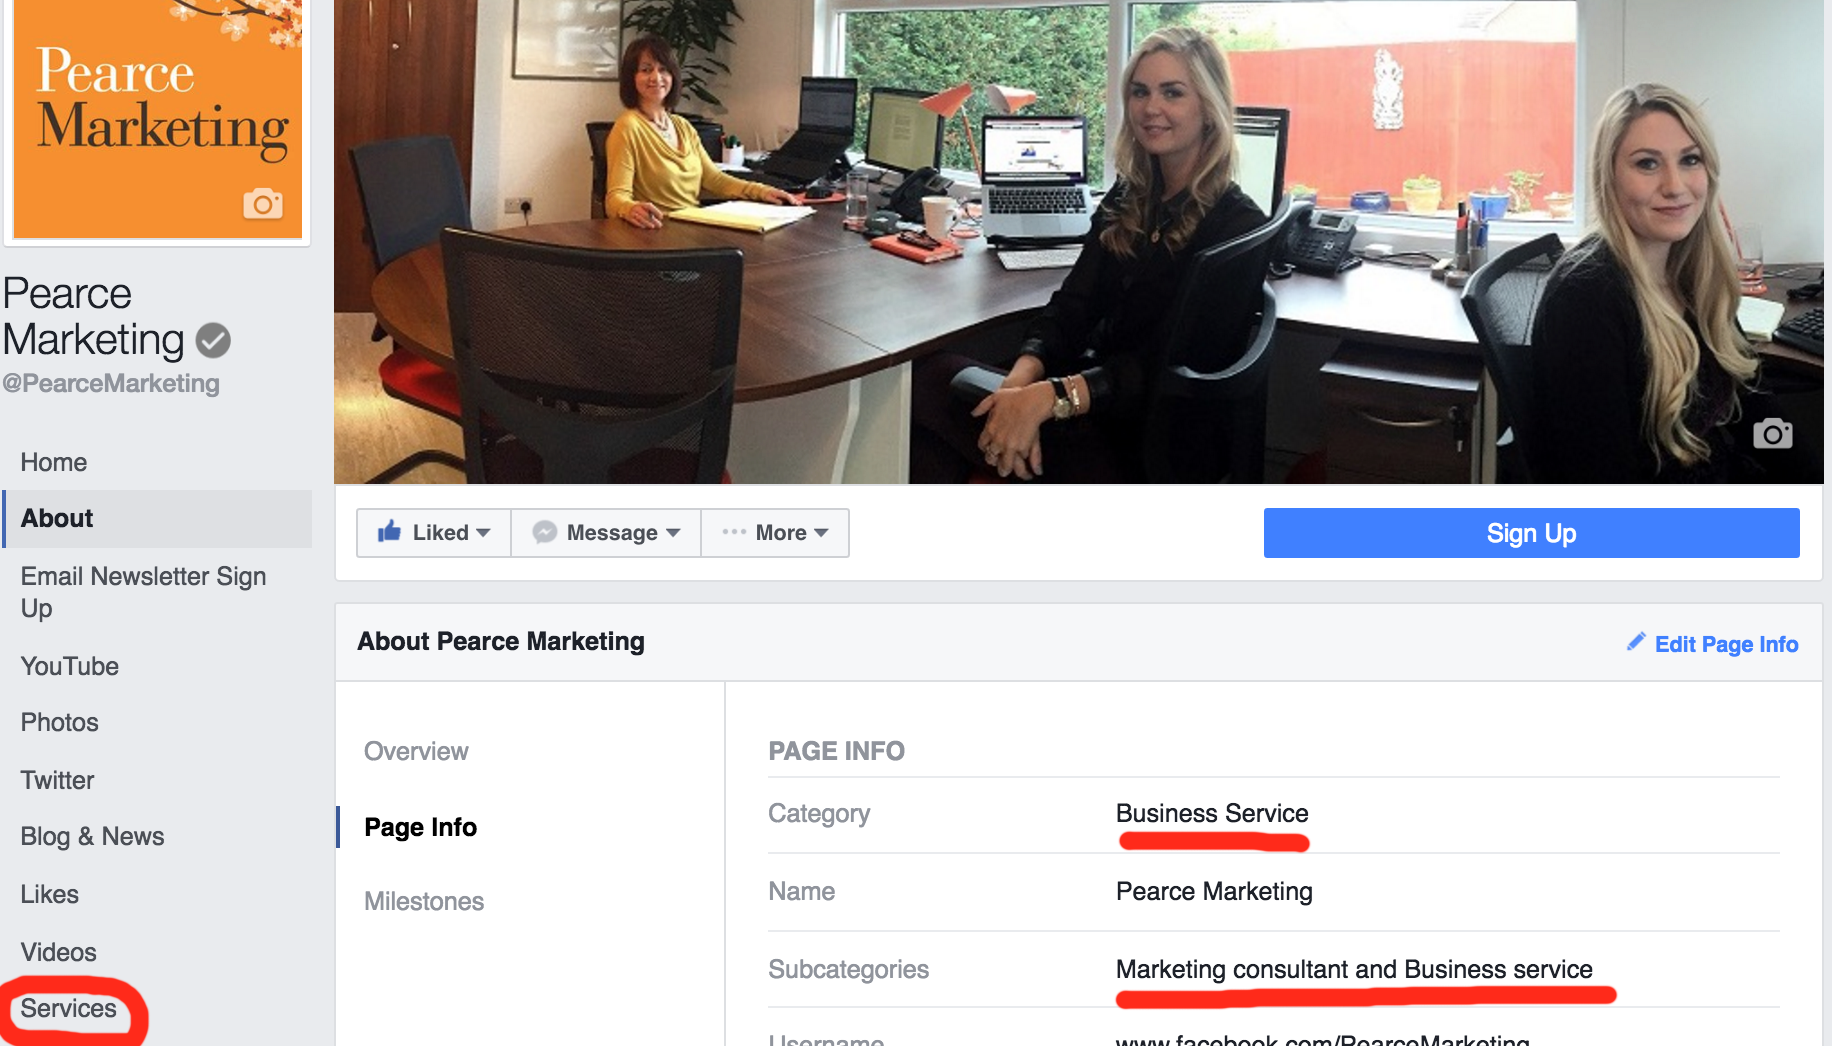
Before we get started, please note: The ability to add services via a services tab in the menu on your business page will depend upon the category setting you have for your page. Click on ‘About’ and ‘Page Info’ and look at the category settings for your page.
The services tab is showing on some but not all business pages, depending on the category you have chosen. It seems to appear mostly when you have ‘Local Businesses’ as your main category but does also appear if you have ‘Companies & Organisations’ as the main category and ‘Consulting/Business Services’. You may want to have a play with your categories and subcategories to see when the ‘services’ tab comes up.
You can see our category settings below…

Do you know that Facebook business pages can specifically highlight the services you offer?
Your Facebook page is a hub of information about your business – almost like a mini website. Don’t forget to ensure your customers and prospects can see the essential business information about how you can help them, alongside all your great social media content.
Here’s a step-by-step guide to how you can add your services to your Facebook business page…
Step 1 – go to the Services section
Log into your business page. Select services on the left hand side as circled above.
Once you’re in the services section you can click on add a service
Step 2 – add your business services
This opens up a tab that lets you add a name, price, description (200 characters) and image to a service that you wish to display. Simply fill out these fields appropriately. You can’t add web links in theses fields, unfortunately.
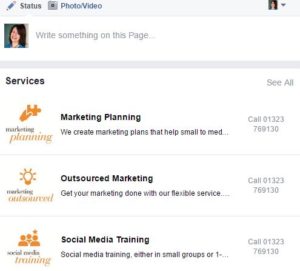
If you don’t want to, or can’t easily publish prices, why not use this field to have a short call to action? We have added our phone number. The website and email is already on the Facebook page just to the side of this. Anything longer than the phone number would get cut off and not be fully readable once you publish your services. You could add all this info to each service description but that will leave you rather less characters for describing your actual service and benefits.
Add all our services and drag and drop to reorder them if you wish – the top three will be visible on your Facebook page before the visitor clicks ‘See All’.
Step 3 – Publish
Once you are happy with the content in the services fields, click on the publish button and take a look at your Business Page. It will look something like this:

More free marketing advice:
For more handy tips on social media, including other Facebook posts, please see our blog and browse our blog categories. If you don’t want to miss future blog posts about marketing and social media, please sign up to our email newsletter (see right hand column). You can also follow us on social media – Facebook Twitter LinkedIn Google+ You Tube Instagram Snapchat.
Similar blogs:
- How to reach more people with your Facebook posts without paying…
- Best Image Size for Facebook Posts and Ads
- How to Pin a Tweet & How to Pin a Post on Facebook
- How to turn on/off your Facebook notifications


Leave a Reply